 Students
 Educators
TAG Online Test Item Bank (eLearning)
** Click on the HELP TOPICS to jump to a new section. Click here to return to Resources page.
Admin Settings
- District Administrator(s) have access to ALL settings.
- All other user logins have access to the Item Inventory and Test Share Groups.
Item Inventory
- View total number of items in TAG.
- Click Content Area for an expanded view.
- Items categorized by: TAG/TEA/TEKS-RS and Content Area/Grade Level/SE (click to drill-down by Student Expectation).
Hide Content
- DMAC Admin only
- Select Content to hide. Restricts access to users below the campus level (Teacher logins only).
Test Print Settings
- DMAC Admin only
- Manage the default Test Print Settings for the district.
Shared Content
- DMAC Admin only
- Assign automatic access to specific users for ALL district tests (rights include view and copy but cannot modify or delete).
- Search Users by name or partial name; Check User(s) and click Save.
- Selected name(s) appear under Current Users to the left. Click the red x to remove access.
Test Share Groups
- Any user can share tests they have created with other users or with a Share Group.
- Create a new group. (Groups may also be created through Share when making a test)
- Name group and click add; select User(s) and click green plus icon; click Save.
Reassign User Content
- DMAC Admin only
- Assign content created by a user no longer in the district to a current user.
- Select TAG Original user > Current User, click Save.
Text-to-Speech (TTS)
- Use the TTS menu to identify default English and Spanish voices when utilizing the text-to-speech feature.
- Available voices depend on the operating system and type of computer you have. Students taking tests in DMAC will also have the ability to select a different voice for TTS.
- TAG uses your web browser’s Web Speech API to provide Text-To-Speech (TTS) services. Make sure your device is NOT muted then contact your local technology specialist if Text-to-Speech is not working on your device.
Create or Merge Tests
- Click New icon or Tests > New from the top navigation bar.
- The test Name is the only required field. Keyword(s) and Directions are optional.
- Add items after save (default); click Save.
- From the top of the Test > Search page, click the Merge icon to combine more than one test.
Add Items to Test
Use filters on the left to narrow items by: Language, Content Area, Course, TEKS Year, Source, or SE; Click Search.
- View items with Grid or List views.
- Navigate between pages using the page numbers above items.
- Column headers (Date & SE) are sortable.
- Click keywords (yellow boxes) to filter items (starts an Advanced Search).
- Select magnifying glass next to purple passage links to view a passage or click the purple link to start an Advanced Search for items only tied to that passage.
- Check or uncheck next to items to automatically add or remove items to a test.
- Total number of items appears on the top next to the test name.
Icons to the right of items:
- Preview – view individual item.
- Edit – modify item (User items only).
- Copy – makes a copy of an item that you can modify; creates a new User type item.
- Delete – delete an item from TAG (user items only).
- Print – (view web vs. PDF or print an item).
Advanced Search/Filters
- Additional filters appear as an Advanced Search
- Click on boxes or passage names in the SE or Question columns to filter available items (by SE, passage or keyword).
- Click the (X) Keywords box or the Off button next to Advanced Search to clear filter(s).
- Select On button next to Advanced Search to filter available items by:
- Item Usage
- Year
- TEKS-RS Unit
- Text to Speech Approved
- Content/Language Supports
- Item Type
- Dual SE
- Depth of Knowledge Level
- Passage Genre, Format, Paired Passages, Name etc.
- Question name
- Keywords
- Select Apply, Clear or X to close the Advanced Search pop-up.
Copy Items or Tests
Use the copy icon to save TEA Released items as User items with editing rights. Copy either individual items or bundled tests.
OER Items in TAG
Access to Open Education Resources (OER) test items. DMAC contains High Quality Instructional Materials (HQIM) released by TEA.:
- Math
- Eureka (K-5)
- Carnegie (6-12)
- RLA
- Amplify (K-8)
- O’dell (9-12)
- Science
- PhD – K-5
Edit Tests
- There are two screens when creating tests. 1) Adding/Searching for items and 2)Edit, reorder items.
- Any time you place a checkmark next to an item, it is automatically added and saved to a test; uncheck the item to remove it.
Test icons (next to test name)

- Preview – preview the entire test.
- Print – save test as a PDF or print a copy (web and PDF view).
- Key – view or print test key.
- Edit – reorder test items or share with others (opens new screen).
- Settings – change name of test, modify directions or keywords.
Top right:
- ABC/SE button – view or filter the percentages of SEs based on search results.
- New – add original User items to TAG (visible to Admins and individual login only).
New Screen (After Clicking Edit)
The Edit icon to the right of a test name is another way to view items attached to a test.

- Reorder test Items, Passages or Graphics. Drag and drop and click Save order if you make changes.
- If you click the Delete icon, it will remove the content from the test (not the test library).
- Use icons in gray preview, copy or remove passages from test.
- Share – share test with others at your school.
- ABC/SE – view percentages of SEs on the selected test.
- Add – return to the Test Items screen to filter and add items to test.
- View – preview of the whole test.
- Key – view/save or print a copy of the test key.
- Export – Export test key to TEKScore.
- List – return to Test Seach screen.
Test Library
Users can create custom tests in TAG or select from a library of pre-bundled assessments including TEA released tests. TEA tests can be modified if copied (this creates a User test).
- From the top right, click New to create a new test.
- Or, use filters on left to search for Tests by Language, Content Area, Course, Source and/or Name.
- Colored boxes above tests display number of available tests for each type.
- Date and Test Name column headers are sortable.
Test Type Definitions
- User – test created with a DMAC Login
- Shared – test shared with you by someone in your district
- TEA – released STAAR/TAKS test
- TEKS-RS – TEKS Resource System items (district must have access to TEKS-RS items)
Individual Test Icons
- Preview – view full test.
- Copy – makes a copy of a test that can be modified; creates a new User type test.
- Edit – modify existing test; (User tests only).
- Print – print full test (Web vs PDF view).
- Export test to TEKScore – opens test key in TEKScore (required for online tests).
- Settings – change test name, add directions or keywords.
- Key – view or print test key.
- Delete – remove test from library (User tests only).
Exporting Tests to TEKScore
- For Online Tests: Make sure to click the option to copy key and content to set up an online test. Then, check the option to review and approve your content to preview the test before moving forward. This action opens the TAG test in TEKScore as a new Test Key.
- It’s important to note that the user performing this action must have rights to create TEKScore Test Keys. With this ability, they can complete the Test Key Header and set up online testing and other settings. Contact the DMAC Help Desk if teachers do not currently have access to Test Keys.
Create TEKS-RS Tests
- From the top of the Test Library, click New icon; complete test information, check add items after save; click Save.
- Use filters on the left to select Content Area and Course; click Search.
- Select On by Advanced Search; enter TEKS-RS Unit (ex: 10); click Apply.
- Check small box at the top of the column to add all items from search results (items will automatically save to the test; number will update at the top.
- Select Edit icon to the right of the test name to reorder questions or share with others at your school.
Create User Items
All TAG users can add original content or digital versions of resources that your school has purchased. Anything added as User content can only be seen by your login and DMAC Admins at your school.
Formatting Items
Use the links below for tips and tricks on formatting assessment items.
- Icon Toolbar
- Formatting Text
- Insert Special Characters
- Upload Images
- Text-to-Speech
- Content and Language Supports
- Custom HTML for Math Items
- Creating Equations
- Spanish Characters
Languages Other Than English
- To tie items to Spanish TEKS, select Languages Other Than English from the Content Area drop down when saving a new item.
- Select Primary Course and Primary SE.
Texas Admin Code naming structure >> https://tea.texas.gov/about-tea/laws-and-rules/texas-administrative-code/19-tac-chapter-114
EXAMPLES: Item Types
- From the top navigation bar in TAG, select Items > New
- Use the menu on the left to select the type of test item
- Click on the links below for videos on creating different types of assessment items.
Multiple Choice
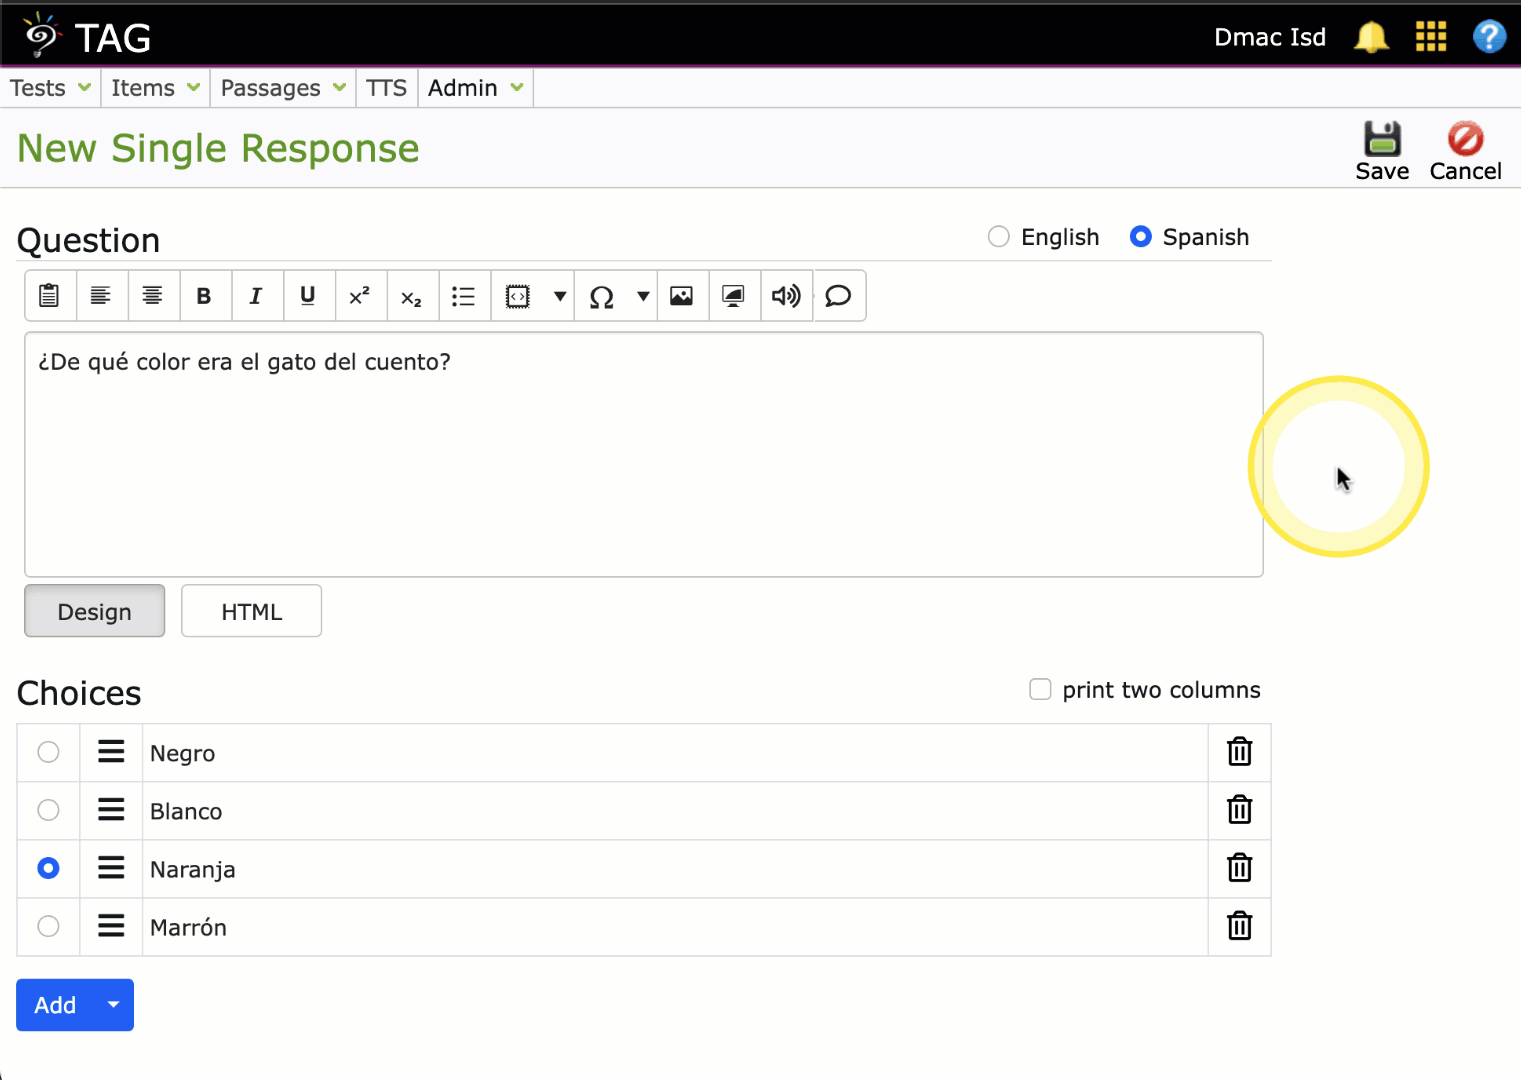
Single Response
- Students select only one correct answer from a set of possible choices.
- Scoring: One point for each correct answer.
Multiple Response
- Students select one or more correct answers from a set of possible choices.
- Scoring: One point for each correct answer. Example: 3 correct answers equals 3 possible points. Students will only be able to select the maximum possible correct answers.
- Other Information: Maximum possible answer choices equals five.
True/False
- Students select either true or false.
- Scoring: One point for each correct answer.
Inline Choice
- Students select the correct answer(s) from one or more dropdown menu(s) that are in context with the surrounding text.
- Scoring: Each drop-down has one correct answer. Each drop-down equals one point.
- Other Information: Maximum drop-down choices equals six.
Text Entry
Extended Text
- Students write an in-depth response by explaining, analyzing, and evaluating information provided in a reading selection or stimulus.
- Scoring: Rubric scoring 1-9. Teacher scored.
- Other Information: Predefined character limits of 475, 675, 1750, and 2350. Users will also be able to create a custom limit with a minimum of 100 and a maximum of 2350. When a rubric scoring guide is added, it will be viewed on the answer key.
Numeric
- Students respond with appropriate numbers in formatted boxes (formally ‘griddables’ in DMAC).
- Scoring: One point for each correct answer.
- Other Information: Numeric Response Format options include Grade 3, Grades 4-5, Grades 6-8, and High School Courses.
Short Text
- Students respond by typing a brief string of text such as a number, word, or phrase. The input will appear below the prompt.
- Scoring: One point for each correct answer. The correct response is scored by the software.
- Other Information: Best practice – limit the answer to as few words as possible for maximum accuracy in scoring. Input type can be text or number. Input width determines the length of the answer box the student sees in the item. Character limit is the maximum number of characters the student will be allowed to type. Check to box if the answer must be capitalized.
Inline Text
- Students respond by typing a brief string of text such as a number, word, or phrase. The input will be in context with the surrounding text.
- Scoring: One point for each correct answer. The correct response is scored by the software.
- Other Information: This type resembles “fill in the blank” items. Best practice – limit the answer to as few words as possible for maximum accuracy in scoring. Input type can be text or number. Input width determines the length of the answer box the student sees in the item. Character limit is the maximum number of characters the student will be allowed to type. Check to box if the answer must be capitalized.
Match Order
Match Table Grid
- Student matches statements or objects to different categories in a table.
- Scoring: One point for each column or each row.
- Other Information: Can score by column (row is default) and have multiple selections. Click inside the row or column to enter text.
Drag and Drop Inline
- Students match choices from a set to fill the gaps in a given passage of text.
- Scoring: One point for each correct answer. The correct response is scored by the software.
- Other Information: Responses can include text, numbers or images. Check the Reuse box for answers to be used more then once. Response view can be changed by checking vertical.
Highlight & Drawing
Hot Spot
- Students select one or more specific areas of a graphic.
- Scoring: One point for each correct answer. Multiple correct answers are optional.
- Other Information: The image size’s maximum height and width is 675 x 875. Images can be dragged and dropped into the item. Alternate text to be read to students must be entered. Choose between rectangles or circles. Clone shapes to make them identical and move to the desired spot on the graphic. Rectangles and circles can be drawn on the same image. Select correct answers individually or in batch mode. When students choose an answer, it will show as a darker shade of blue.
Hot Text
- Students cite evidence by selecting highlighted text in a sentence, paragraph, or extended reading.
- Scoring: One point for each correct answer. Multiple correct answers are optional.
- Other Information: Cannot highlight between paragraphs. Highlight in the template box to format text OR select text to be highlighted. Use the second box to select the correct answer(s). When students choose an answer, it will show as a darker shade of blue.
Math
Equation Editor
- Students use an equation editor to enter their answer.
- Scoring: One point for each correct answer.
- Other Information: Student response must be an EXACT match to receive credit. Students can use a keyboard (ex: shift+8 for multiplication) to record their answer. Students only have access to the keys on the equation editor when entering their answer. This is modeled after the TEA Equation Editor and only includes x, y and z.
Fraction Model
- Students use a fraction model to complete the answer.
- Scoring: One point for each correct answer. Can be Equivalent or Exact.
- Other Information: Students can create the model by selecting the total number of parts OR student can click the shade to select the correct answer. Model can be a Bar or Pie Graph. To Name the Model, click in the title above.
Graphing (Basic)
Graphing (Intermediate)
Graphing (Advanced)
User Passages
Schools have the ability to enter passages (purchased or original) to the TAG application. Content added by a DMAC user is accessible only by that individual login.
Create Passage(s)
- New Passage – Select Passages > New from top navigation bar; or, New from the Passage Library.
- Language – English or Spanish.
- Title – Name Passage.
- Paired Passage and Format – Select Yes or No if it is a paired passage or check if it is a Revise and Edit passage.
- Content Area – Select content area (required).
- Course – Select course (required).
- Genre – Select Genre (optional).
- Readability – Enter Readability level (optional) Note: DMAC uses the Flesch-Kincaid Readability model for existing content in the item bank.
- Text to Speech – When an option is selected, that area will read for students who receive the Text to Speech testing support. Any Directions entered will always read aloud.
Selection(s):
The main part of a passage is entered in the Selection(s) area of the page. Formatting is especially important for online tests so they display properly on the screen. Note: Save is not available on this page until content is entered in the Selection(s) text area.
- Paste Plain Text – paste text into text box. Delete extra spaces between lines or sentences. Note: Click full-screen to view in a larger format to remove spaces.
Formatting Best Practices:
- Title – Centered; bold; 16 point font
- Subtitle – Centered; italicized; 12 point font
- Paragraph Numbers – Italicized; 11 point font (default); add 2 spaces before/5 spaces after for numbers 1-9 and 0 spaces before/5 spaces after for double digits
- Body Text – left aligned; 11 point font (default)
- Images – .png preferred, max size 675×875 pixels. Click Add new paragraph icon before and after each image. Right click an image and select Properties to edit image size and alignment or add Alt Text for a description of the image to read aloud with Text to Speech.
- Click Print to view how a Passage will look online (Web View) or to print a copy (PDF View).
- By adding new paragraphs with the icon, the system will automatically add the paragraph tags for the start and end of a paragraph
HTML Formatting
Revise and Edit
- Revise and Edit passages should have additional spacing between lines.
- Click the HTML button at the bottom of the Selection(s) text entry box after pasting in your text.
- From HTML view include style=”lineheight: 3;” inside of the start of the paragraph tag.
- The only supported value for double spacing is 3.
- Sentences should be numerically numbered; numbers should be in parenthesis.
- Paragraph numbers – add 5 spaces before and 1 space after number in parenthesis.
- Select the Design button to exit out of the HTML view and to preview how the passage will appear for students.
Paired Passages
- Note: Page breaks are only necessary if you are printing out tests. For online tests, this is not something you need to worry about.
- Control where page breaks fall between paired passages by using the following code in the paragraph tags from the HTML view.
- <p style=”page-break-after: always;”>nbsp;</p> – Adds a page break after the paragraph.
- <p style=”page-break-before: always;”>nbsp;</p> – Adds a page break before the paragraph.
- Print – View how passage will look in printed form. Use the controls to print or save the passage as a PDF.
Poems
- Click the HTML button at the bottom of the Selection(s) text entry box after pasting in your text.
- From HTML view include style =”lineheight: 1.5,” inside of the start of the paragraph tag. Ex. <p style=”lineheight: 1.5,”>
- With poems, every 5th line is numbered counting by 5’s. Each number should be italicized.
- The beginning letter of each row/line should align with the starting letter of the prior row/line.
- Select the Design button to exit out of the HTML view. Save and select the Print button to preview the passage.